
Sometimes a fun, crafty idea can come spur of the moment and you need to just go with it. Maeve has been coveting all Valentine-ey wreath/front door thing-a-ma-jigs in every store we walk into.
We found some fun valentine making kits at Target and she decided to spend Friday afternoon making her cards for preschool custom for each and every kid in her class...of 20!


Her craftiness inspired me. I dropped the paint brush and found some fabric scraps I had left over from outdoor pillows I made last summer.
I love the color palette in these fabrics. Unusual, graphic and hot...super bright...will look great with our cherry red door.


The black one I LOVE but didn't have enough fabric width-wise for the birds to lie upright.
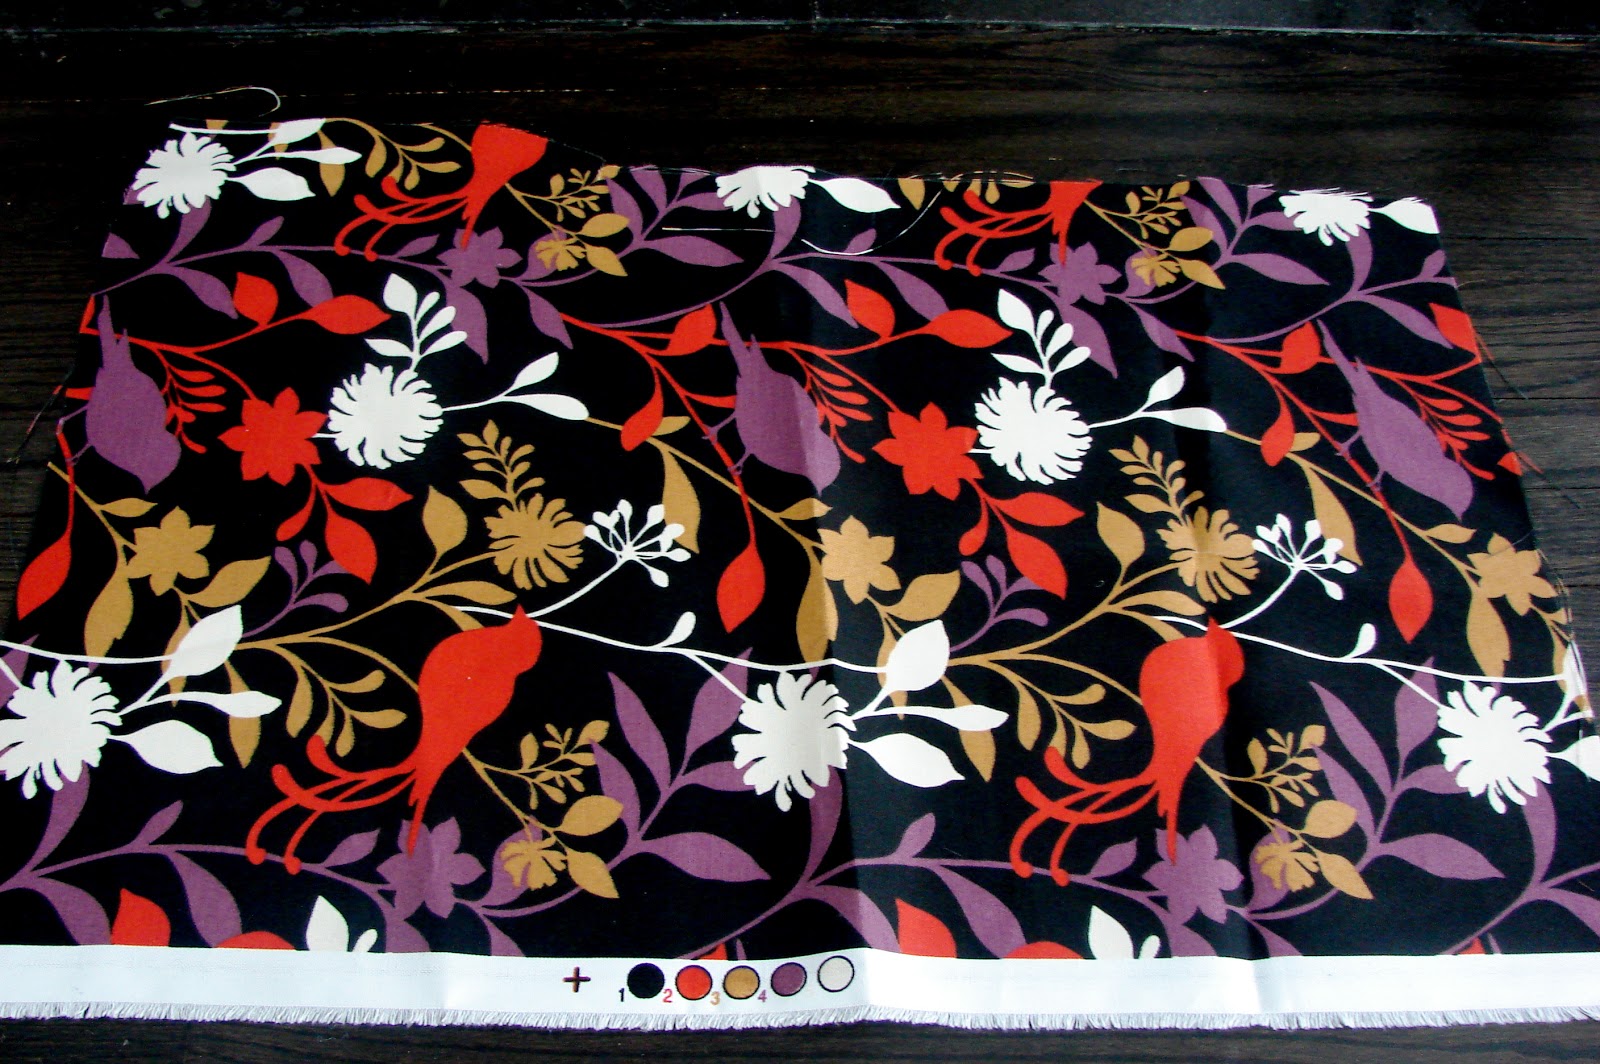 |
| Birdies rotated:( |
So the white one it is and on the red it will surely pop. Win!

This door is probably as old as the house...dates to 1937. I recently slapped on the red paint to give the exterior of the house a budget friendly face lift. And what's cuter on a preppy little Cape Cod than classic red? I should mention we have a storm door protecting the red one from the outdoor elements. No fabric exposed to our very wintery climate.
So we measure the door...18 inches wide seems about right. And for fast and head-ache free crafting I decide on 18 inches for the height too. Nothing quite as pleasing as perfectly square dimensions. The current canvas on my easel is 20 x 20 inches. It is repose for the eye. Even on all sides...lovely.
 |
| Hello window cleaner where are you?! Lol. |

So we go old school. I fold my piece of fabric in half...and then fold it over again 9 inches in. Like you did in grade school when you made paper hearts! Before I take my white chalk (I borrowed Maeve's) to trace my half of a heart, I make sure I have four layers of fabric under my tape measure.

I trace my half a heart and begin to cut.

And then I have two hearts. Cue the Stacey Q..."Two of Hearts...Two hearts that beat as one..."

Place the two hearts on top of each other, pattern side touching, so that your heart is inside out. Now at this point I think, well I could just pin and hand stitch with a little needle and thread. But for time's sake (with young kid's the ending must be in sight...very short sight), I decide to grab the stapler and staple that sucker together.


Make sure to leave the bottom of the heart open and very gingerly flip inside out so that the pattern is on the outside. If you sew, you won't have to be as delicate, but staples can pop out if you're not careful.
I had some Crafter's Choice polyester fiberfill on hand that I had previously got at Jo-Ann Fabric & Crafts for various pillows I've made.

And we stuffed...not too much...just enough to give it a little fluff.
 |
| So pleased she's doing it herself. |
We stapled the rest of the fluff stuffed heart and took a basic hole puncher and popped a little hole at the top. This grapevine wire (also from Jo-Ann's) was just the ticket for hanging. We made a little loop, and fed it through the hole. Grapevine adds a touch of folksy warmth to any project.

We place our pillow heart decor on the little pushpin on our very red door. And VOILA!
We are Valentined!


Total time for the project from beginning to end...45 minutes. And that's including feeding the dog and various tasks like refilling sippy cups for my 2 1/2 year old:) Our fabric Valentine added some creative fun to our afternoon and a touch of whimsy to our front door.
Stay warm and have a LOVELY weekend!
beautiful craft! beautiful girls!!!
ReplyDeleteThanks Agnes!
ReplyDelete